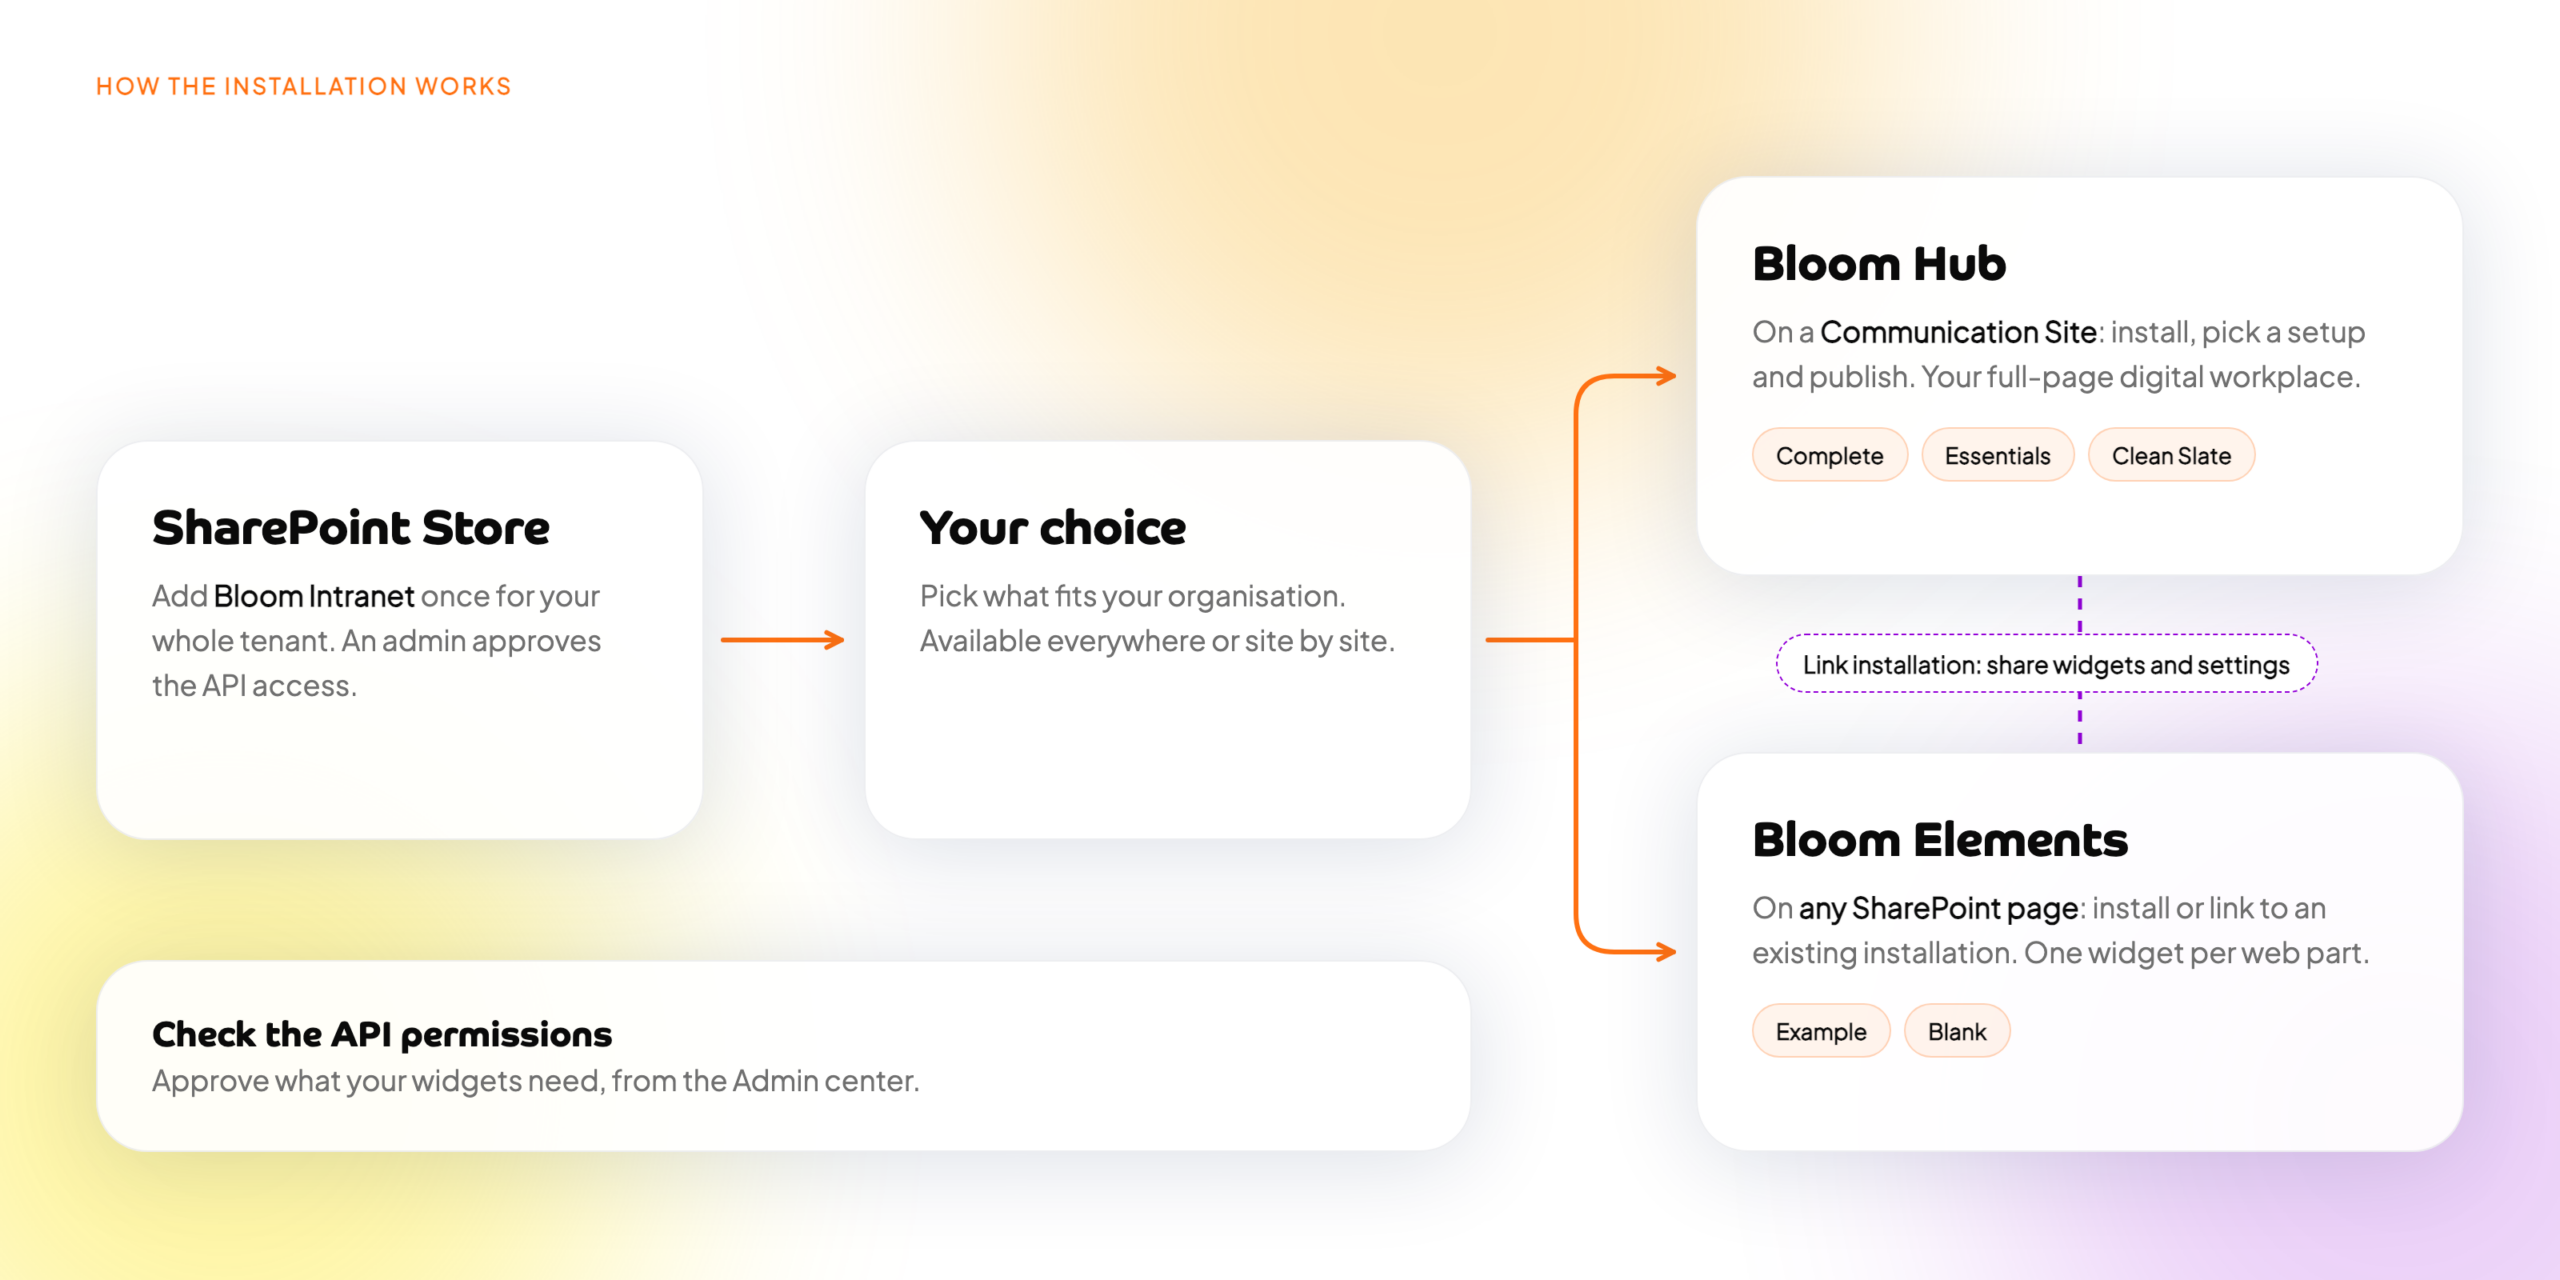



Welcome to the Bloom Intranet installation guide. This page walks you through the full process of setting up Bloom Intranet on a SharePoint Communication Site in your Microsoft 365 tenant — from enabling the app at tenant level to activating it on a site and completing the in-product configuration.
Whether you are preparing a brand-new site or already have a Communication Site ready, these steps will help you:
Enable and approve the Bloom Intranet app across your tenant.
Add and activate the app on your chosen SharePoint Communication Site.
This structured approach ensures that Bloom Intranet is installed securely and functions correctly for your users.
Bloom Intranet works best on a Microsoft 365 Communication Site. In this step you select or create the Communication Site where you want Bloom Intranet to be available for your colleagues.
If you need to create a new Communication Site, see: Create a communication site in SharePoint Online and follow the instructions.
If you already have a Communication Site where you want Bloom Intranet to live, simply navigate to that site in SharePoint.
⚠️ Important: To add the Bloom Intranet App, you must be a Site Owner and have SharePoint Admin permissions in your tenant.
Once you are on the Communication Site where you want Bloom Intranet to be accessible, follow these steps.
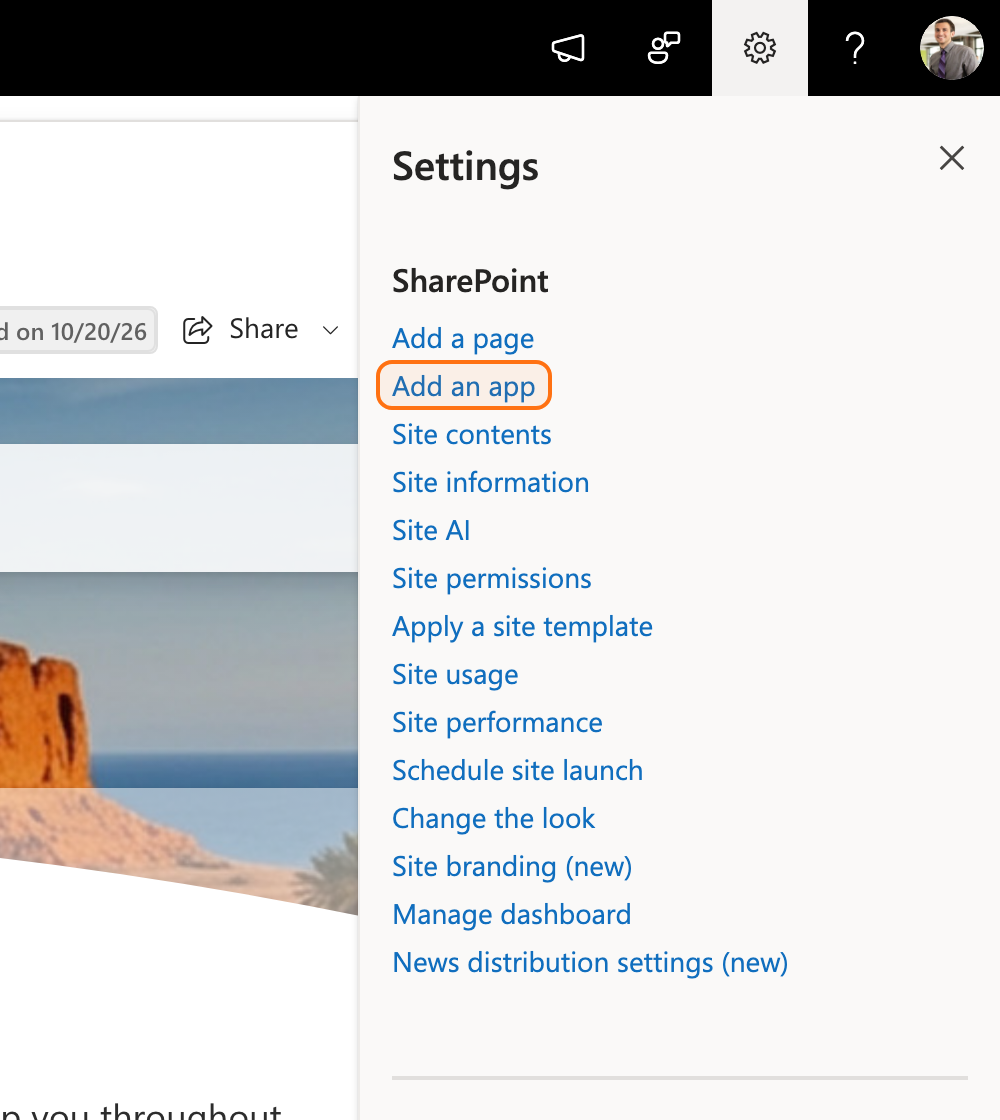
- In the top right corner, select the Settings icon.
- Choose Add an app.
After selecting Add an app from the settings menu in the top right corner, you will see the My Apps page.
On the My Apps page, select Find more apps in the SharePoint Store to open the SharePoint Store where you can search for and add new apps, including Bloom Intranet.
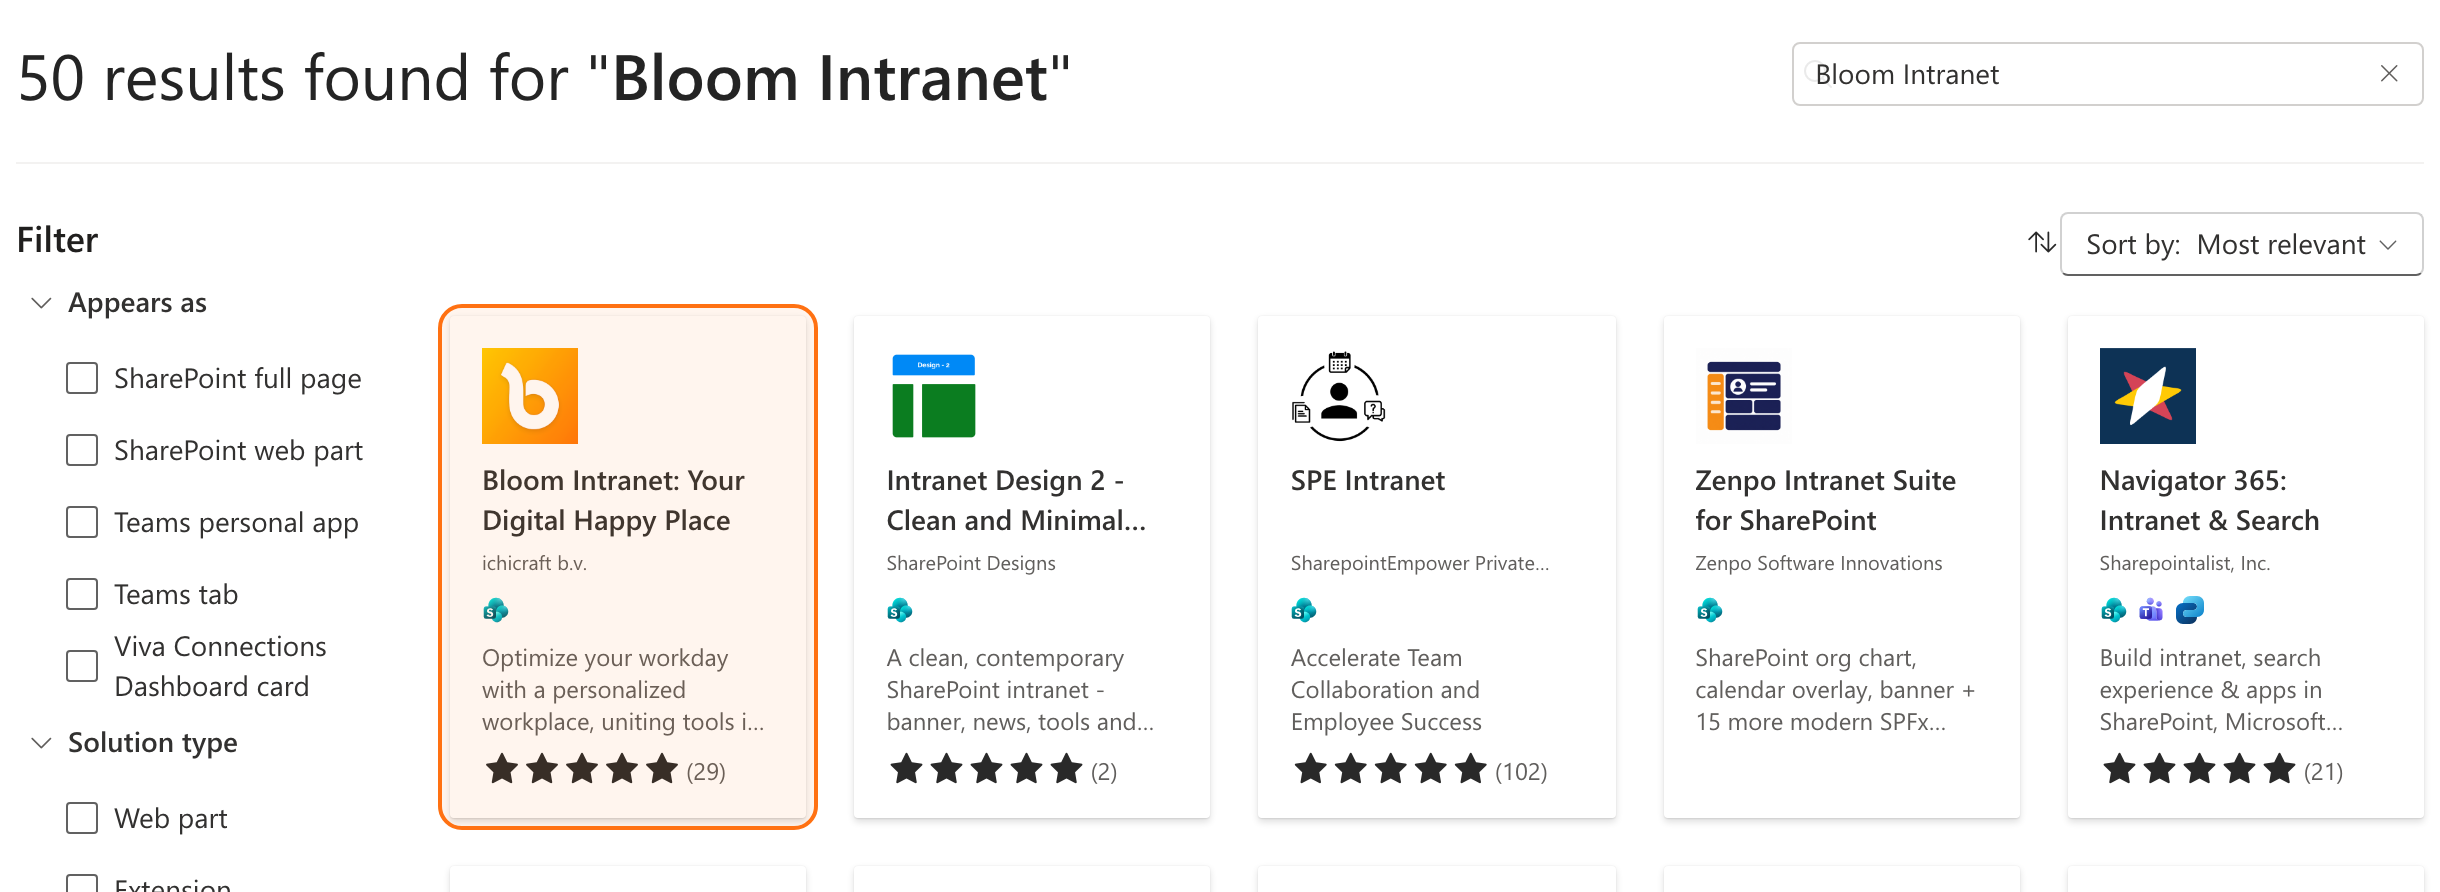
You are now in the SharePoint Store.
In the search bar at the top of the page, type Bloom Intranet and press Enter.
Locate Bloom Intranet in the search results.
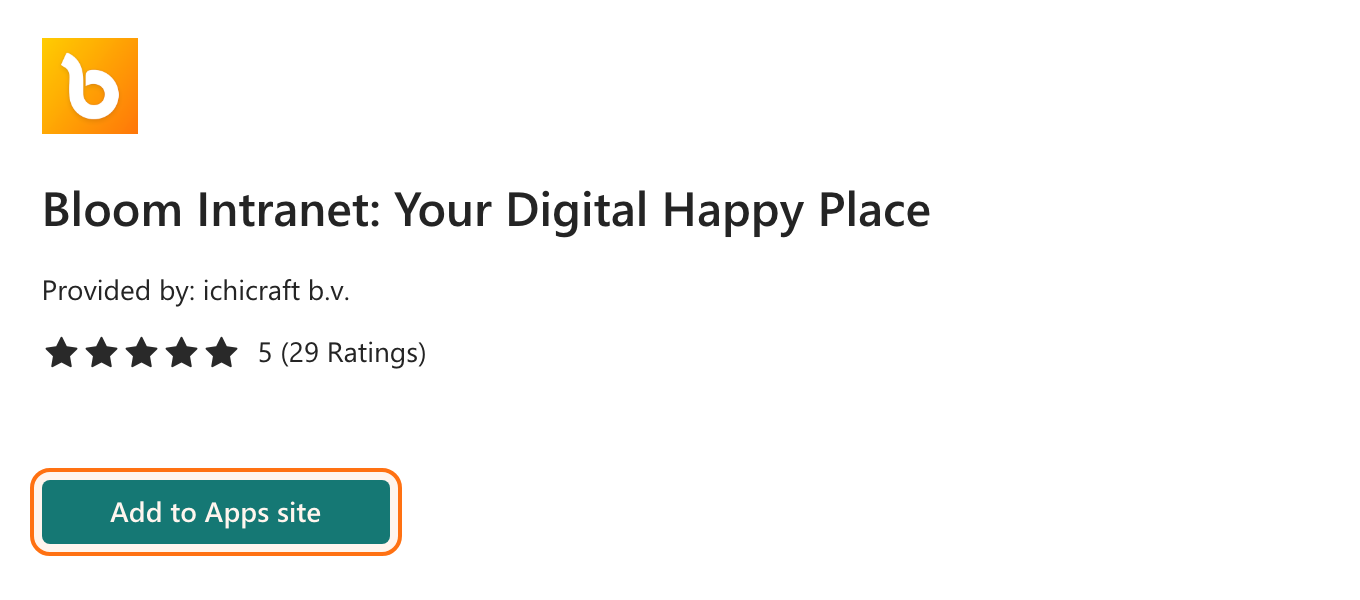
When you have selected Bloom Intranet in the SharePoint Store, you will see the app details page.
- Select Add to App site to start the installation.
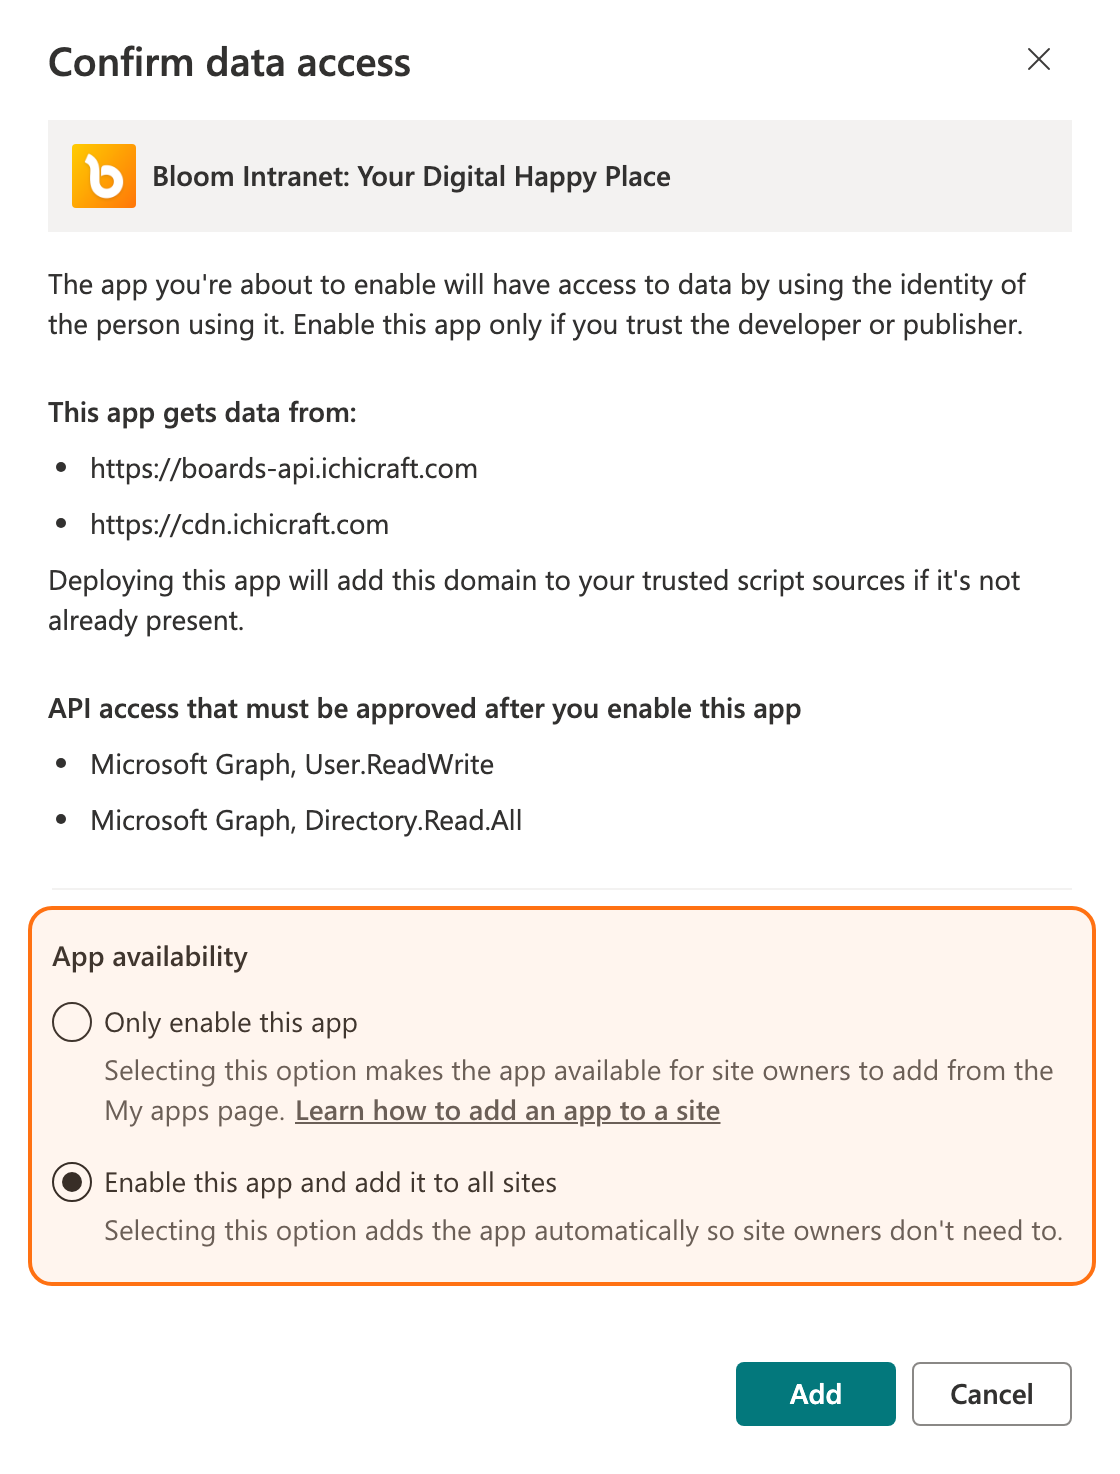
After selecting Add to Apps site, SharePoint will ask where the app should be made available.
In this prompt, you are asked whether to make the Bloom Intranet App available to your entire organization or only to a specific site.
We recommend that you:
Select Only enable this app. This makes Bloom Intranet available in your tenant without immediately installing it on every site. You can then add the app only to the Communication Site(s) where you actually want to use Bloom Intranet.
After making your selection, click on Add.
In the next step you will add the Bloom Intranet App to your chosen Communication Site.
After enabling the Bloom Intranet App, you will see a confirmation screen.
On this screen, select Go to API access to open the API access overview for your tenant.
This is where you manage the permissions that third party apps, including Bloom Intranet, are allowed to use.
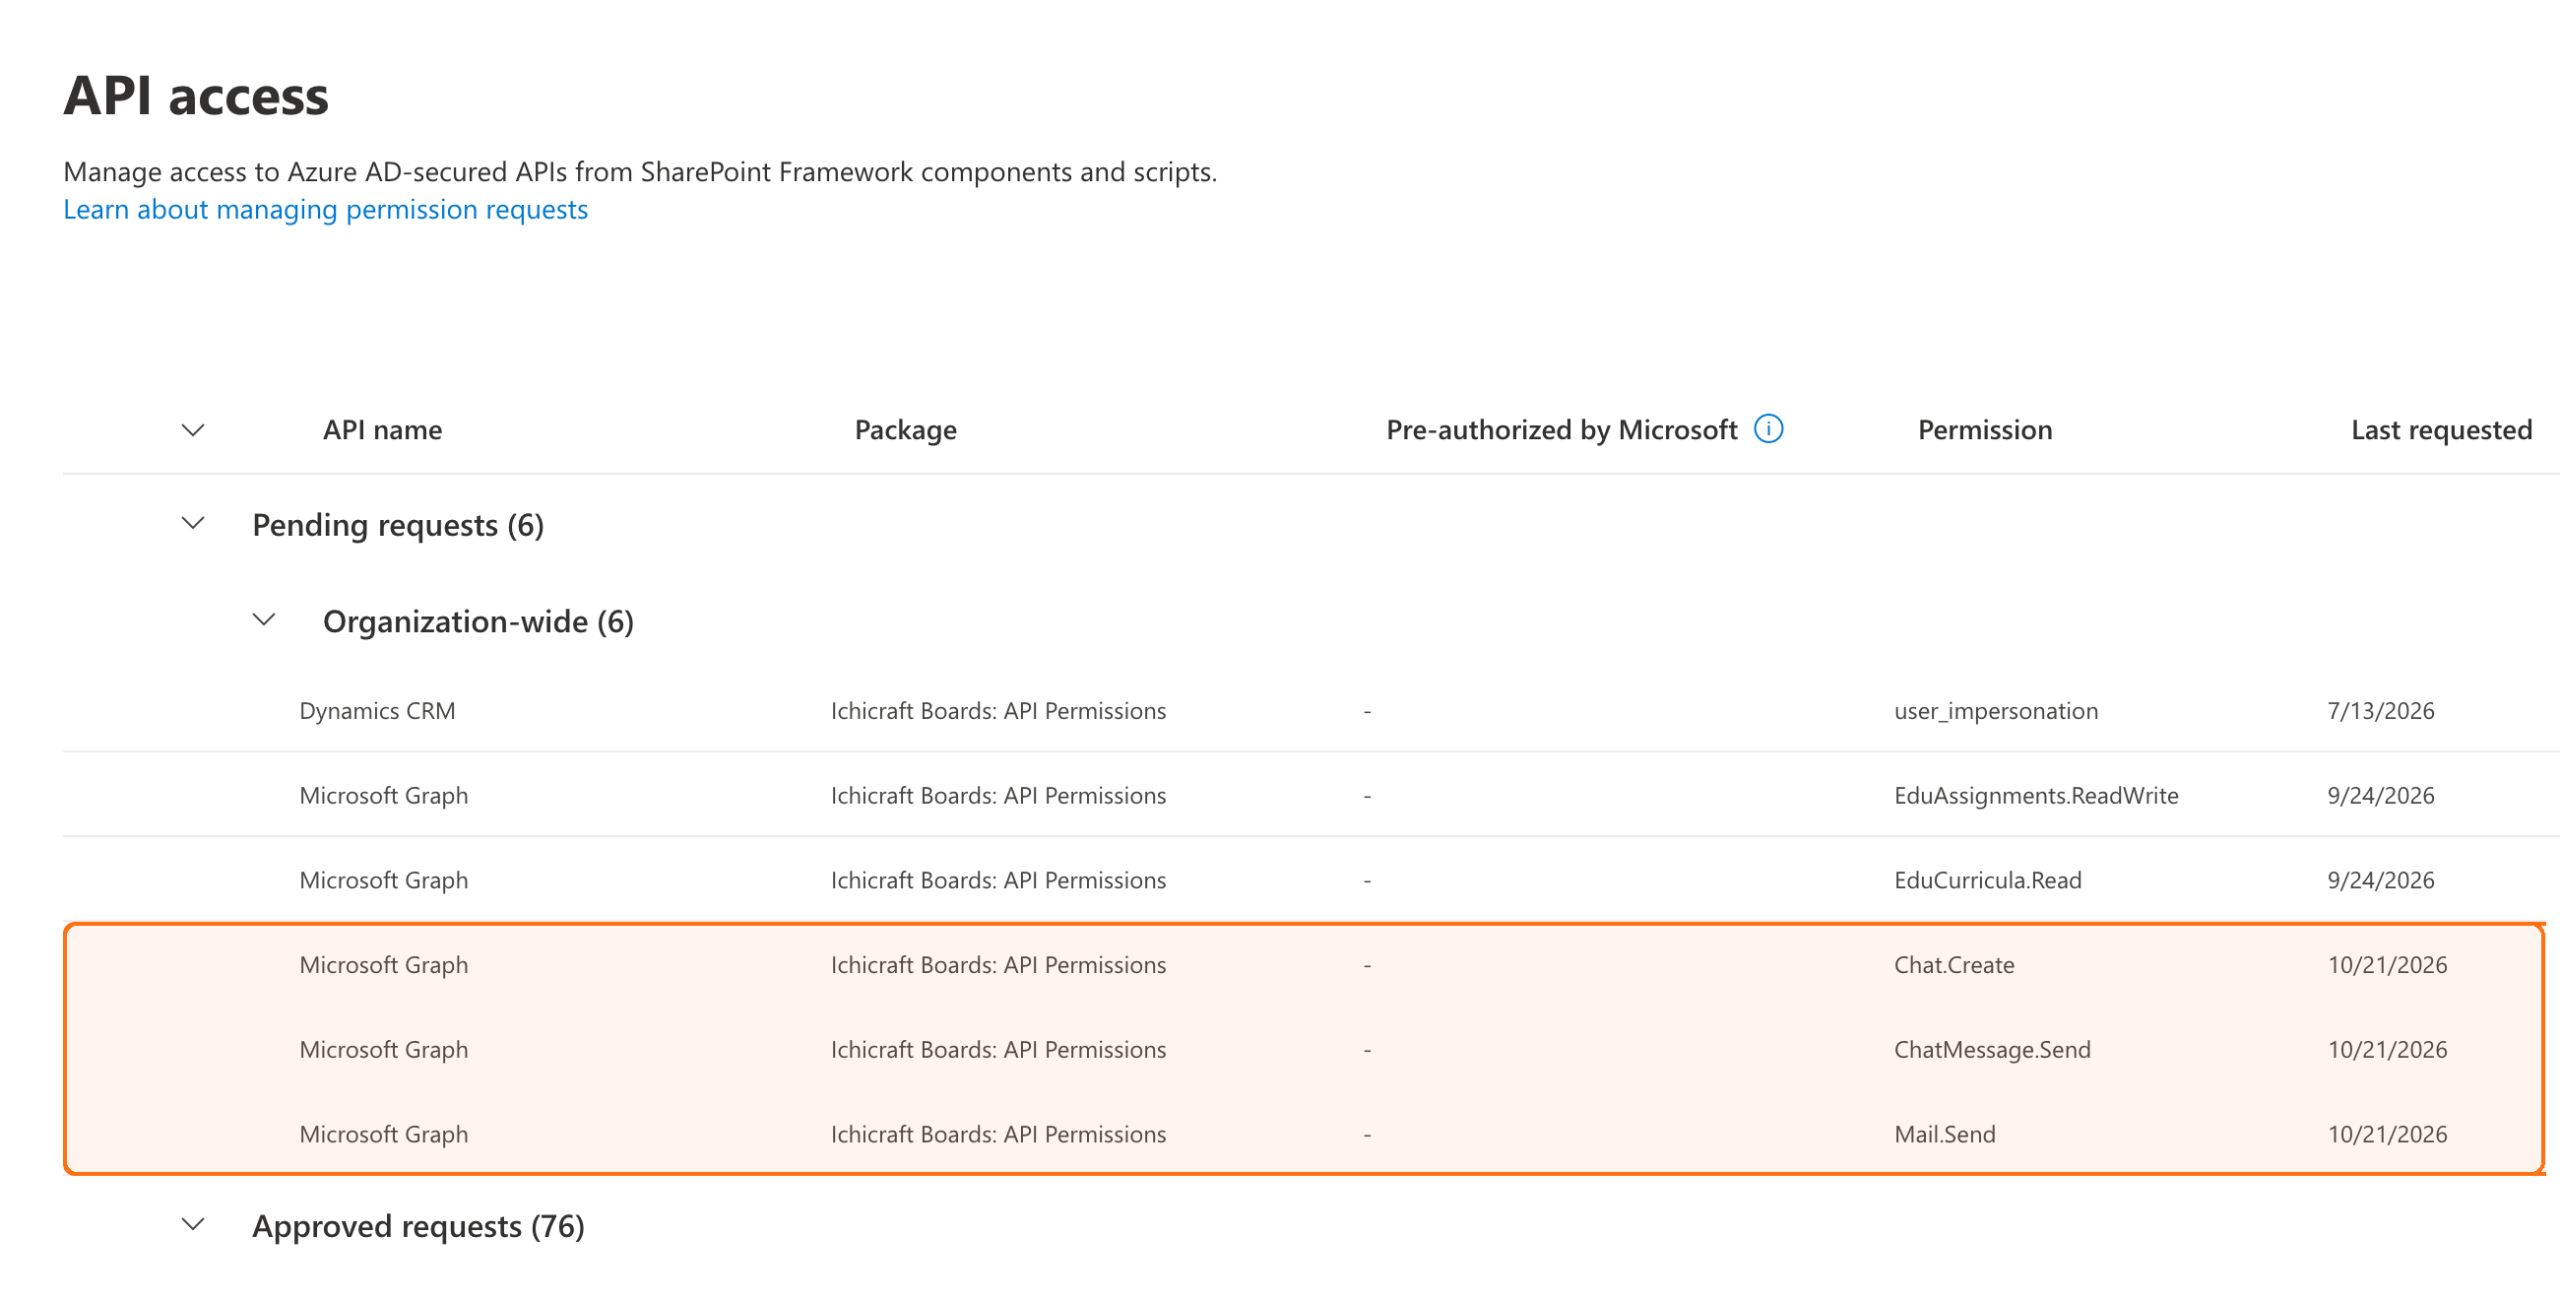
In the API access overview, you will see Bloom Intranet listed with its requested permissions.
Open the Bloom Intranet permission request if it is not already visible.
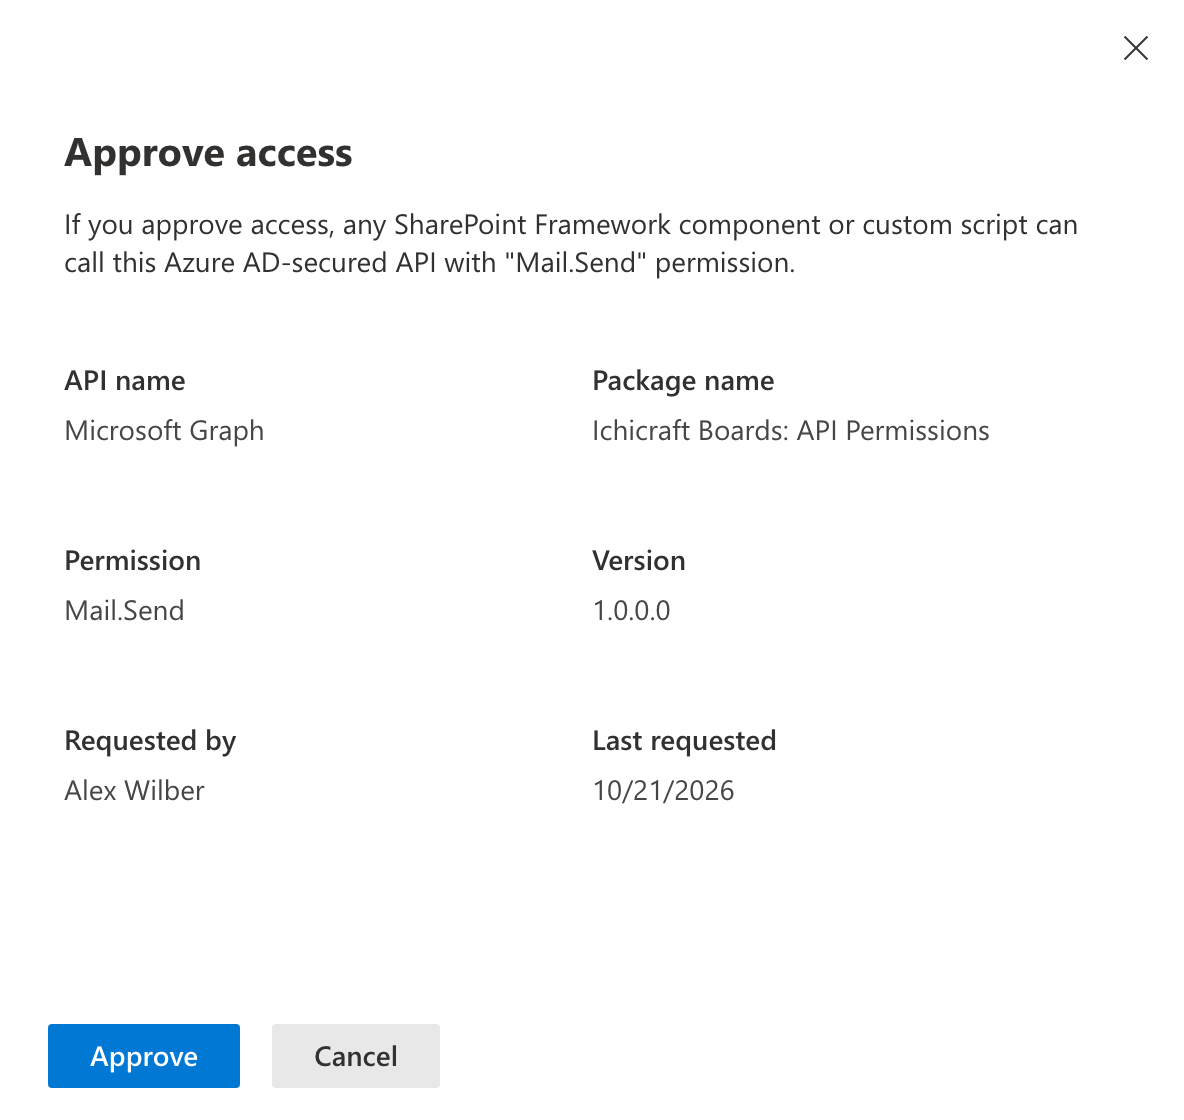
Review the requested permissions.
Select Approve to grant these permissions.
Approving these permissions allows Bloom Intranet to interact with the required Microsoft 365 services.
In the next step you can add the Bloom Intranet App to your specific Communication Site.
Return to the Communication Site where you want to add Bloom Intranet.
- Select the Settings icon in the top right corner of the page.
- From the menu that appears, select Add an app.
This opens the My Apps page, where you can add Bloom Intranet to this specific site.
Select Add it to add the Bloom Intranet App to this site collection.
SharePoint will now add the Bloom Intranet App to your chosen Communication Site, after which you can continue with placing and configuring the web part on your page.
After selecting Add for Bloom Intranet, SharePoint will show a confirmation message stating that the app has been added successfully.
- When you see this message, the Bloom Intranet App is now installed on your Communication Site.
- Click on Back to [Your Site Name]
On your Communication Site homepage, select Edit in the top right corner of the page.
This switches the page into edit mode, allowing you to add or modify web parts on the page.
While the page is in edit mode, position your cursor on the page where you want Bloom Intranet to appear.
- Select the + icon to add a new section to the page.
- From the section layout options, choose Full width section.
💡 We recommend placing Bloom Intranet in a full width section, as this provides the best layout and user experience for the web part.
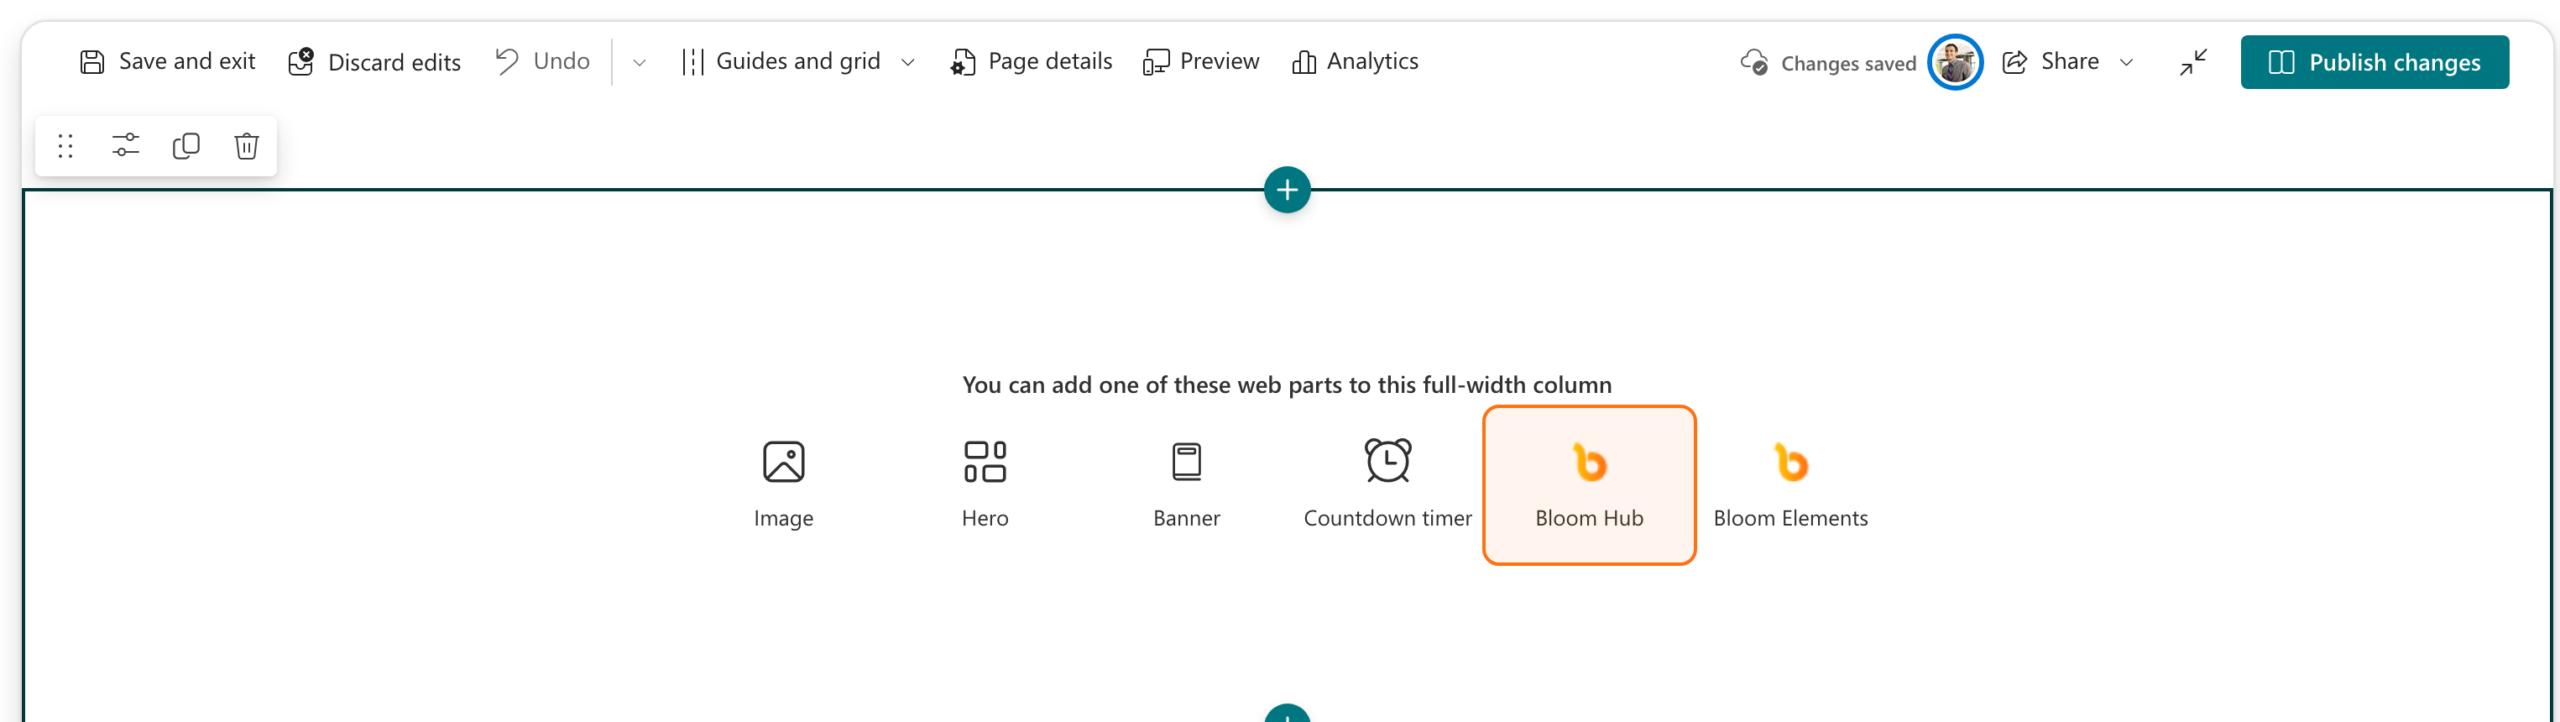
In the full width section you just created, you will see a list of suggested web parts.
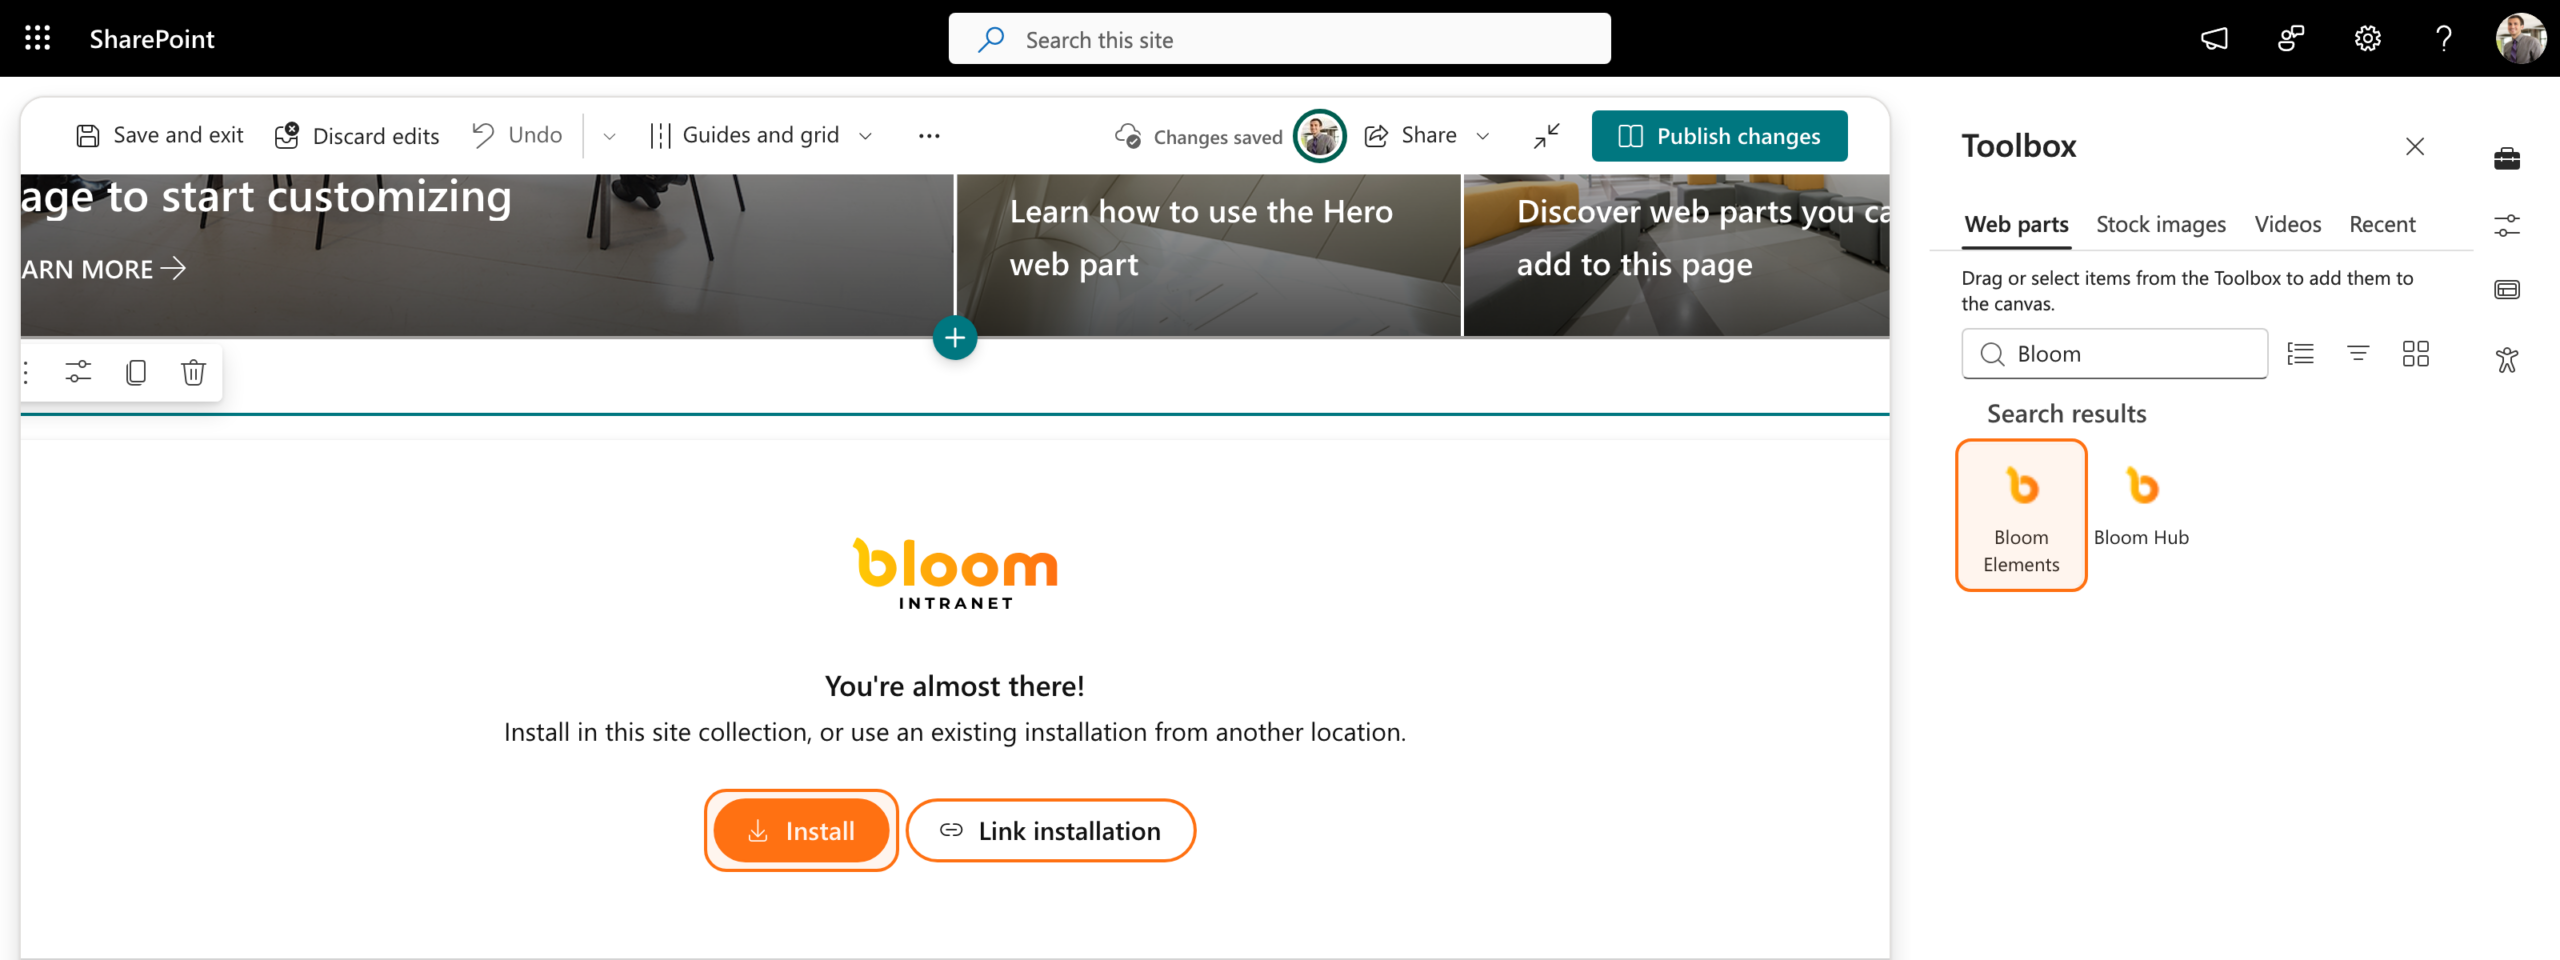
Select Bloom Intranet from the available options to add it directly to the section.
After adding the Bloom Intranet web part to the full width section, select Republish in the top right corner of the page.
Within the Bloom Intranet web part, select Install to start the installation steps inside Bloom Intranet.
You will now be guided through the remaining setup steps directly within the Bloom Intranet web part.
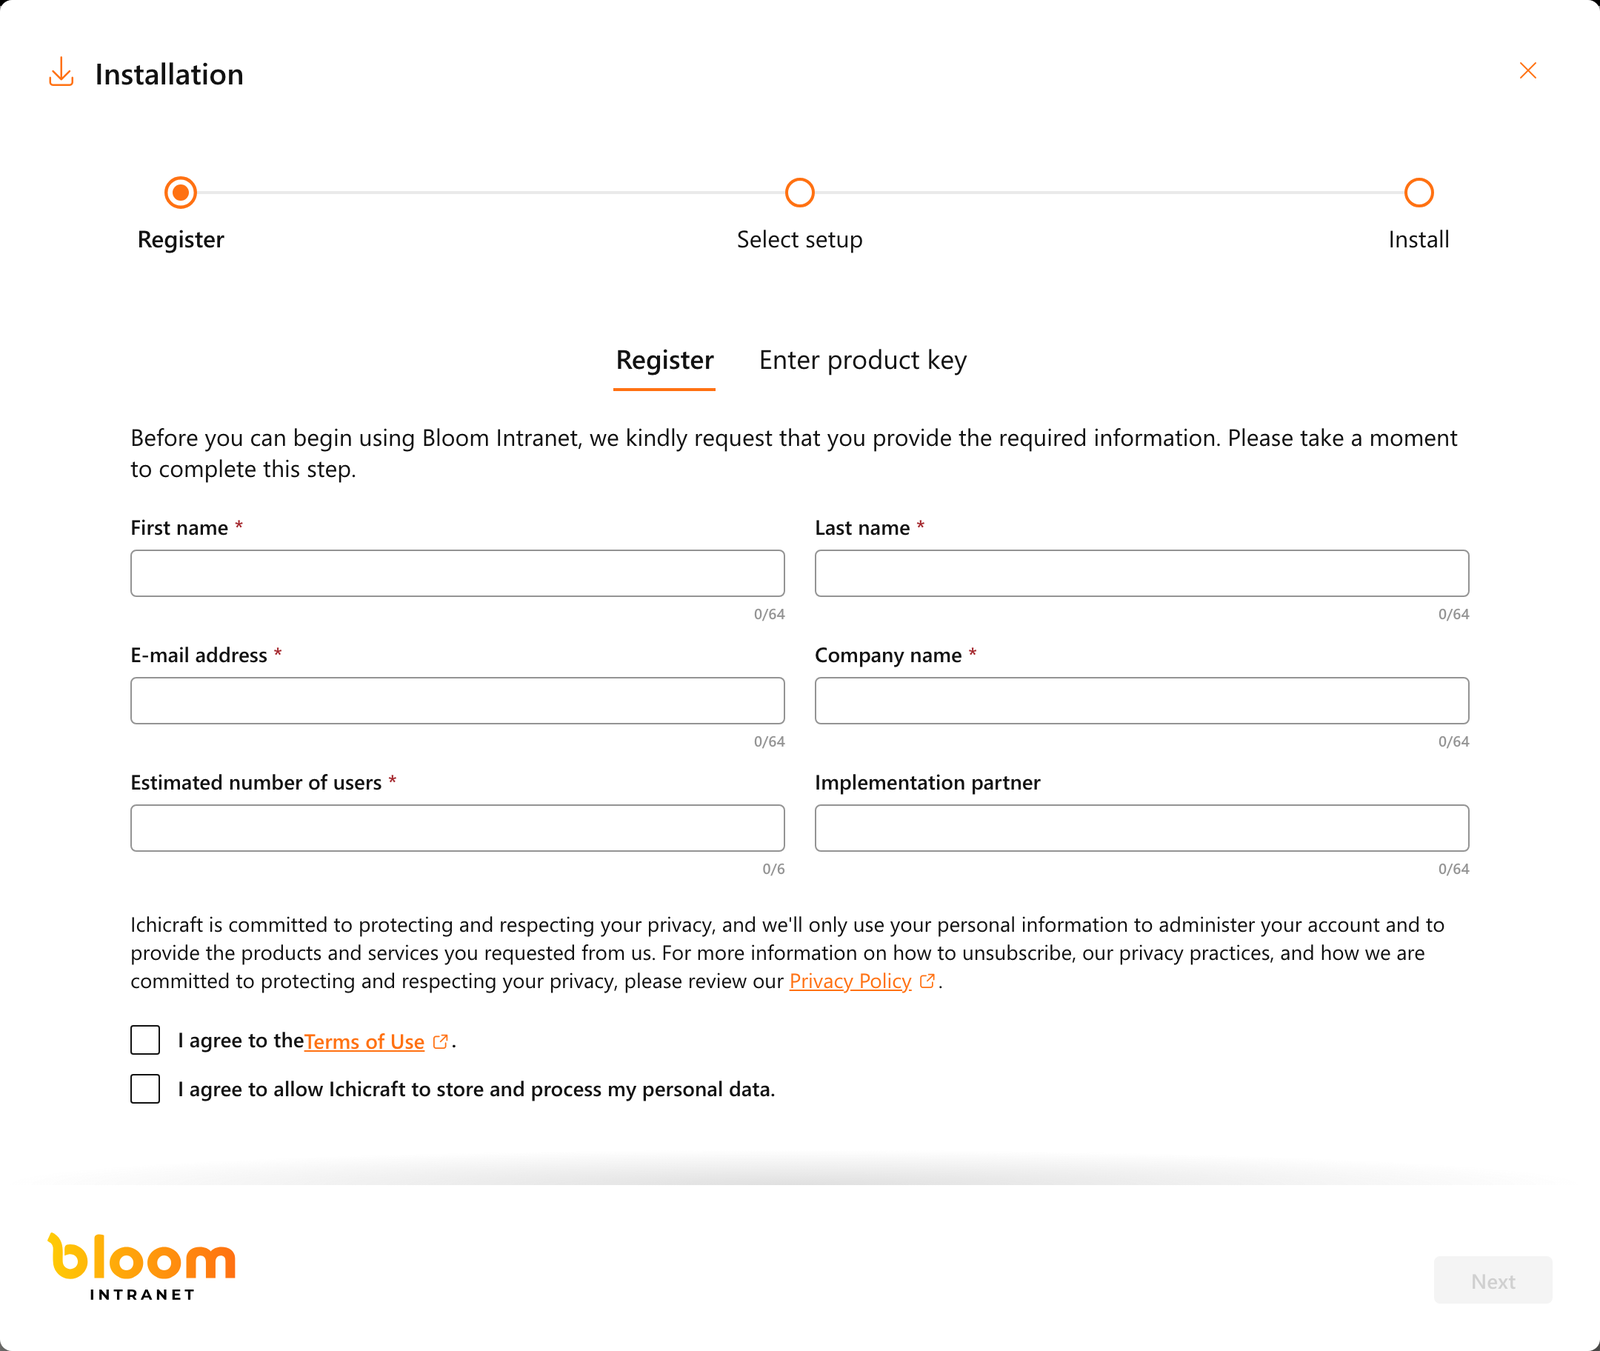
After selecting Install, the Bloom Intranet setup screen opens inside the web part.
You will see a form to register this site as a new Bloom Intranet installation.
Review and complete the required fields in the registration form.
Select Next to continue with the installation.
This starts the registration of this Communication Site in Bloom Intranet and takes you to the next configuration step.
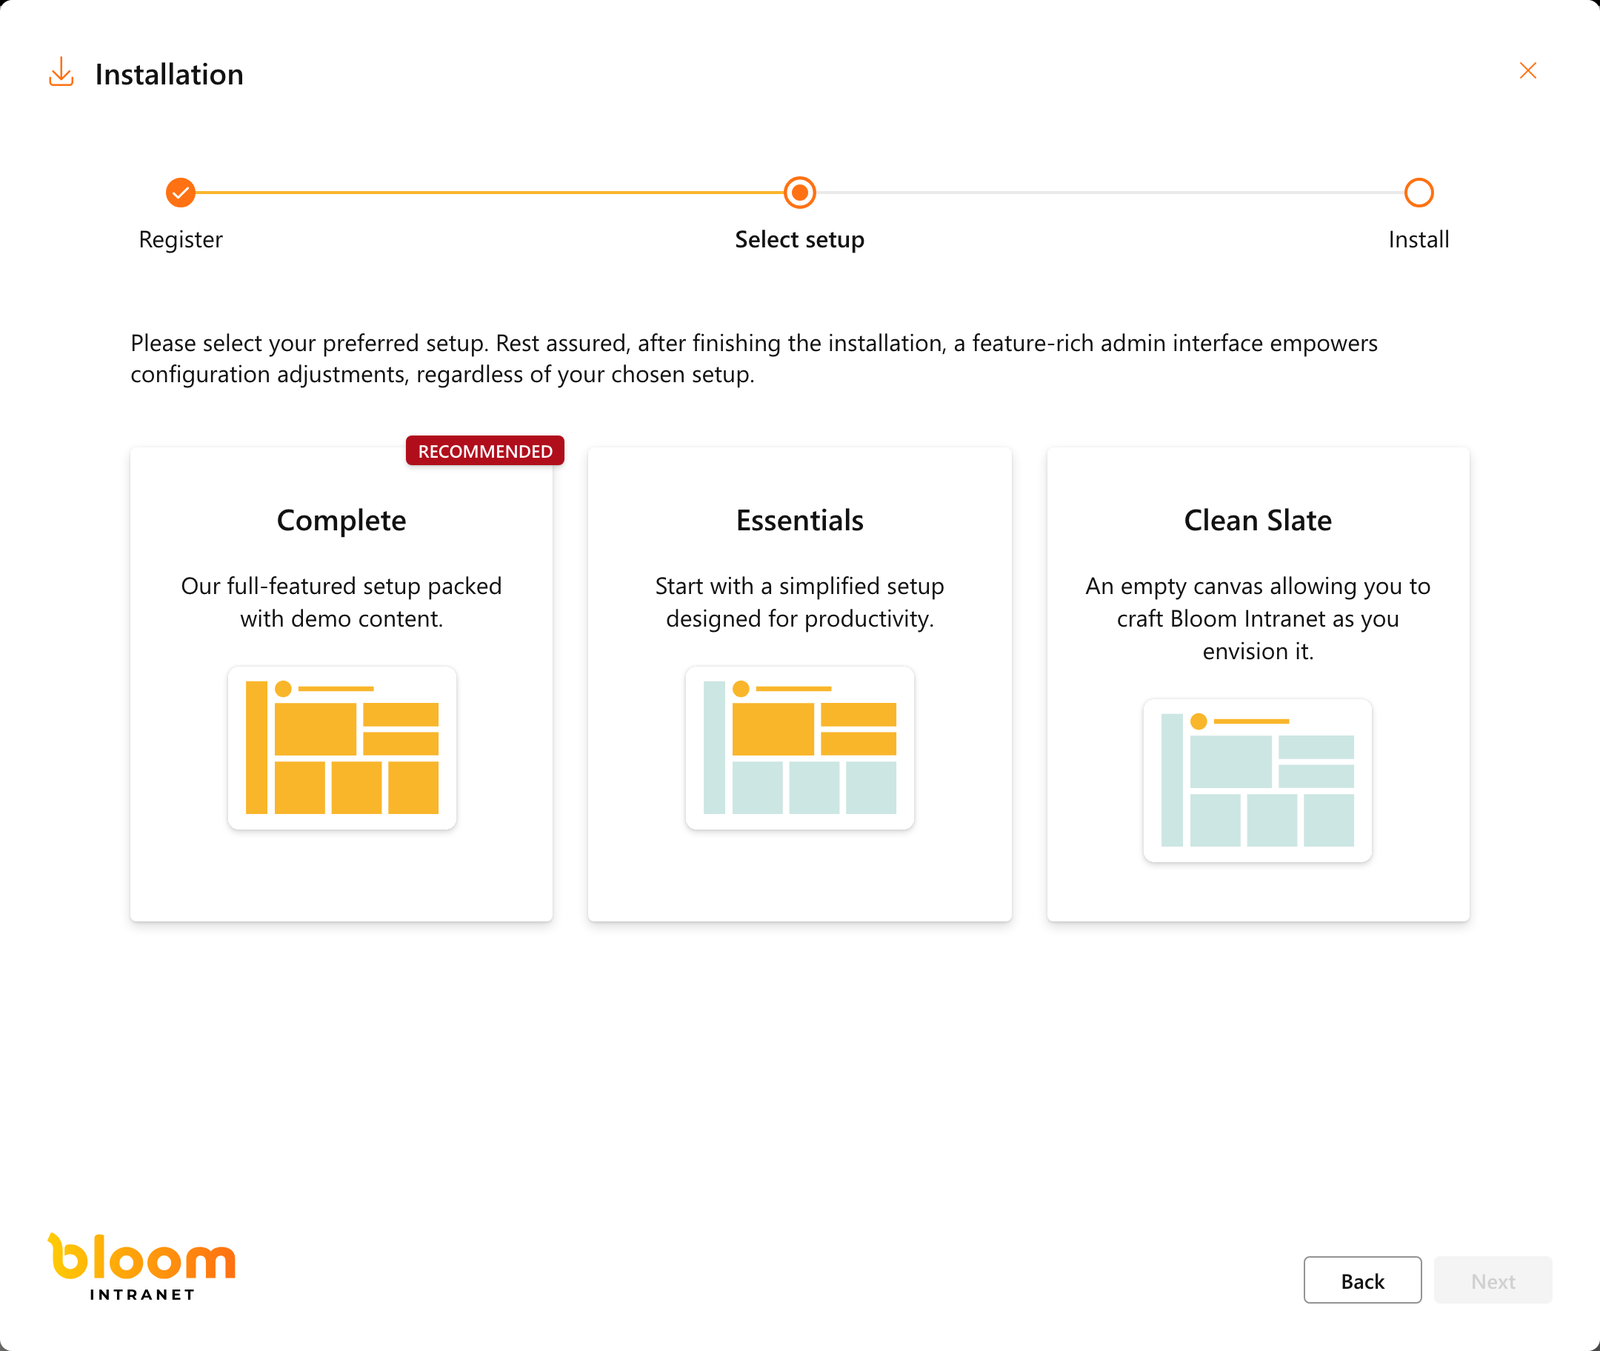
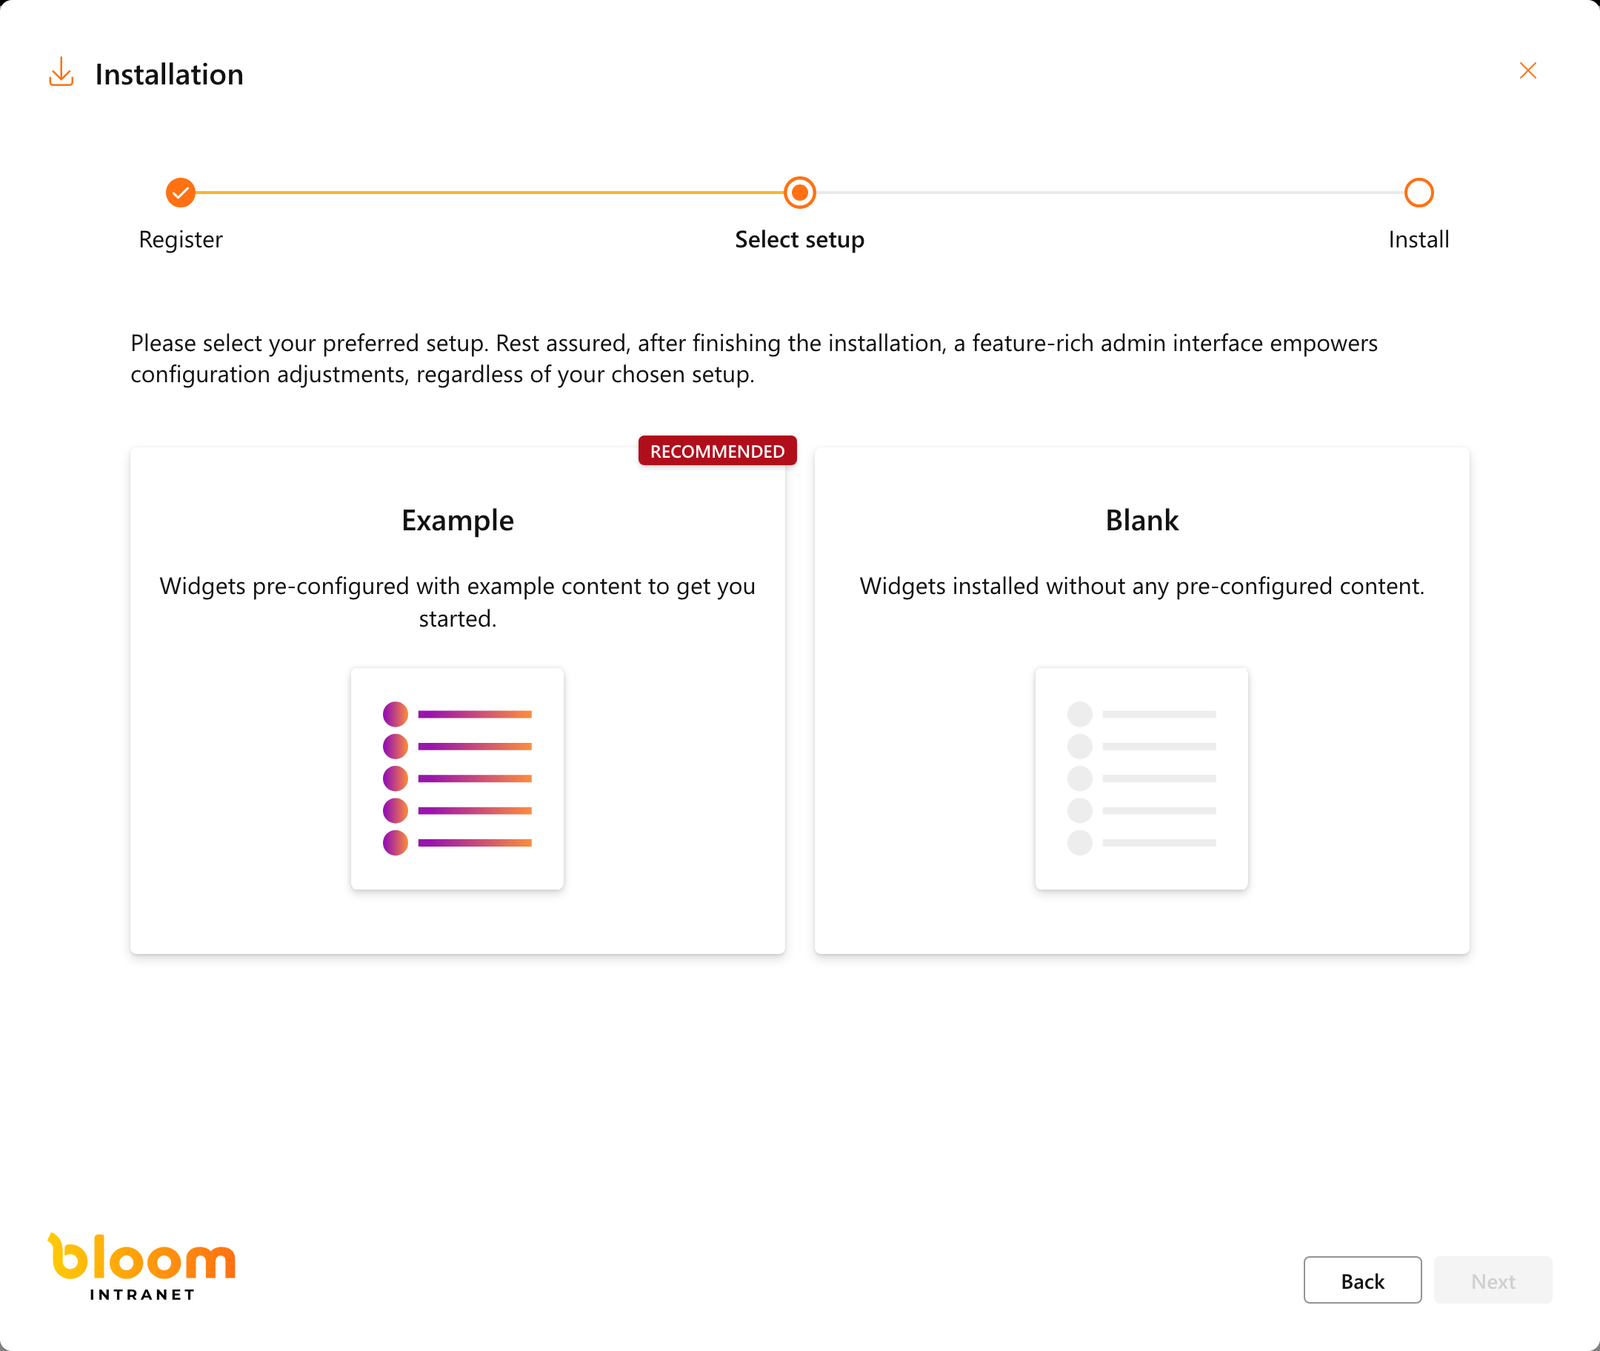
After selecting Next, you will see a screen asking you to choose how you want to set up Bloom Intranet for this site.
- Review the available setup options shown on the page.
- Select the option that best matches how you want to use Bloom Intranet on this Communication Site.
After making your choice, select Next to continue with the installation.
After choosing your setup, you will see a confirmation screen summarizing your selection.
Review the information shown to make sure your setup choice is correct.
Select Install to proceed.
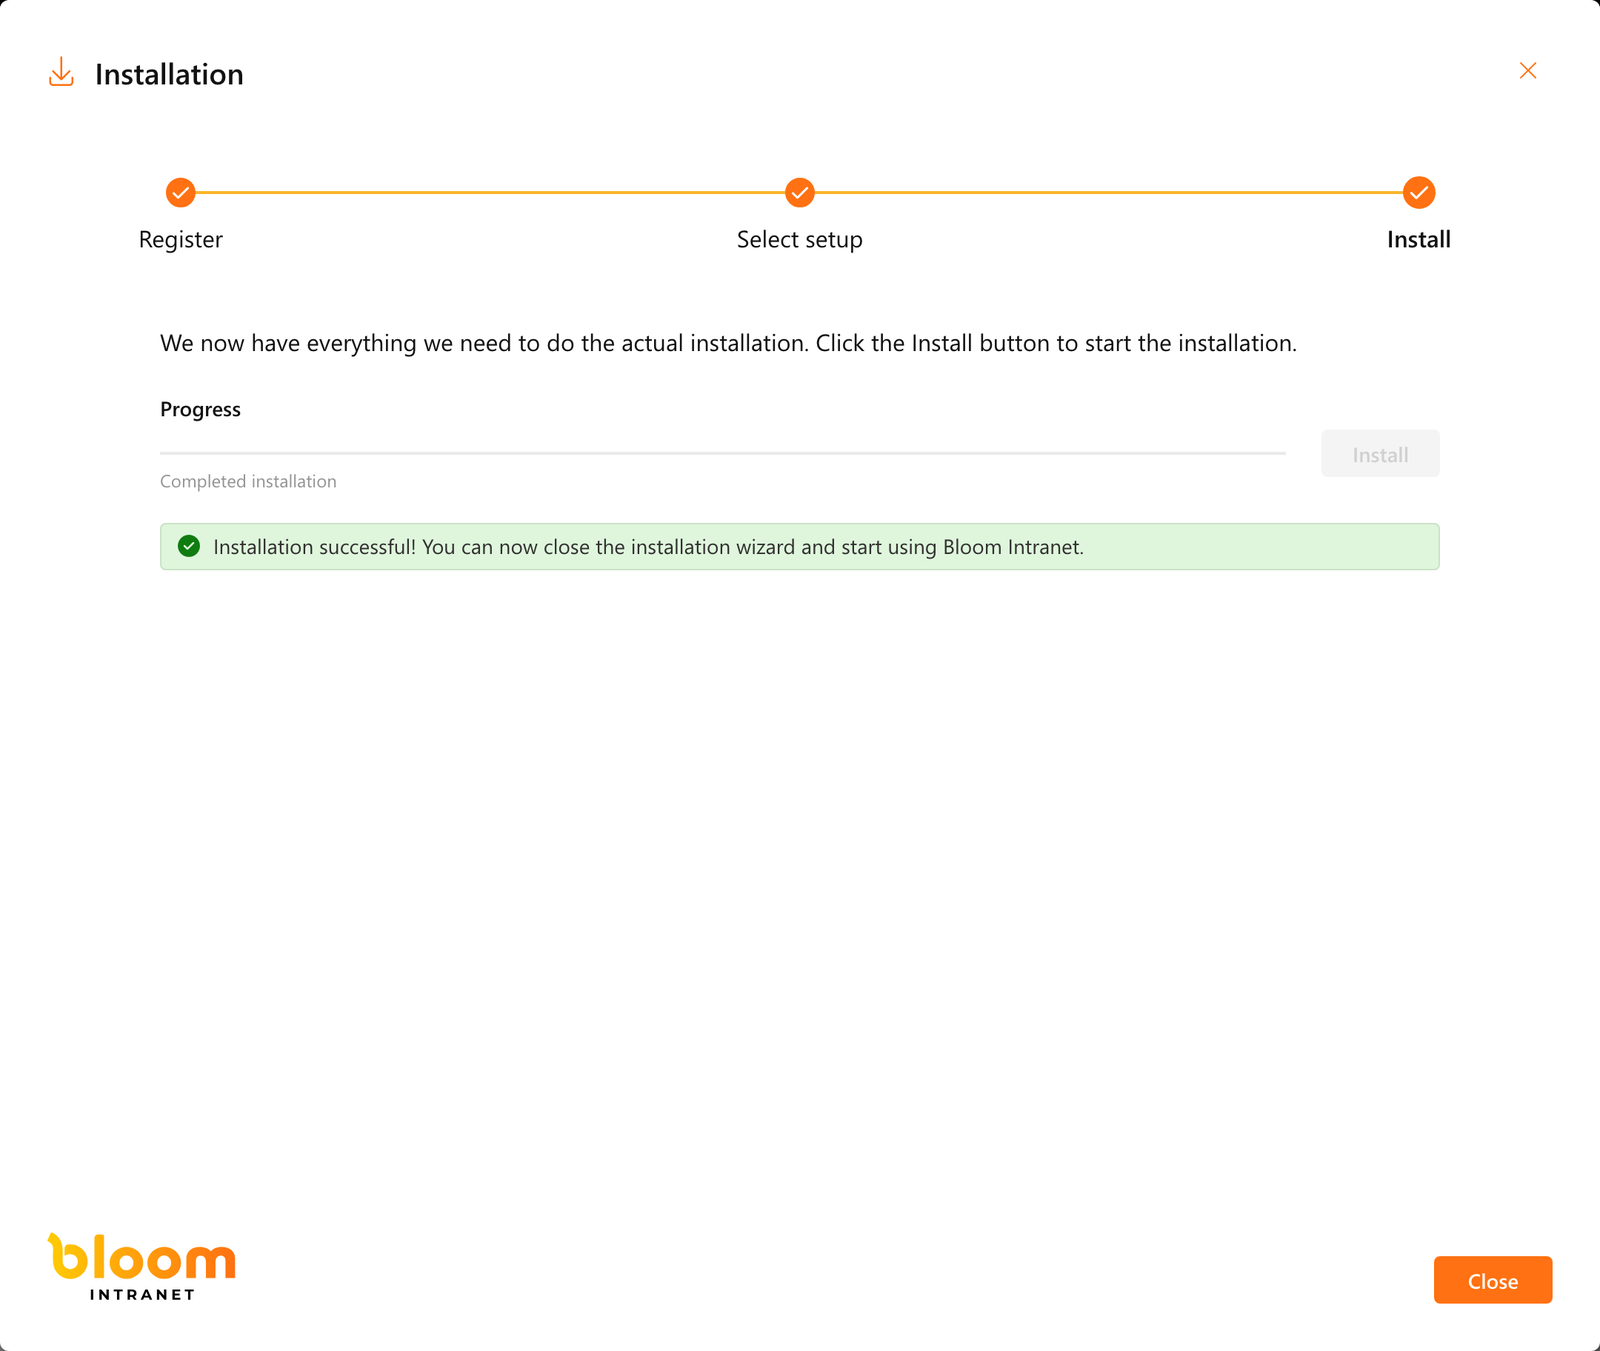
The installation of Bloom Intranet is now finished and the web part is active on your Communication Site.
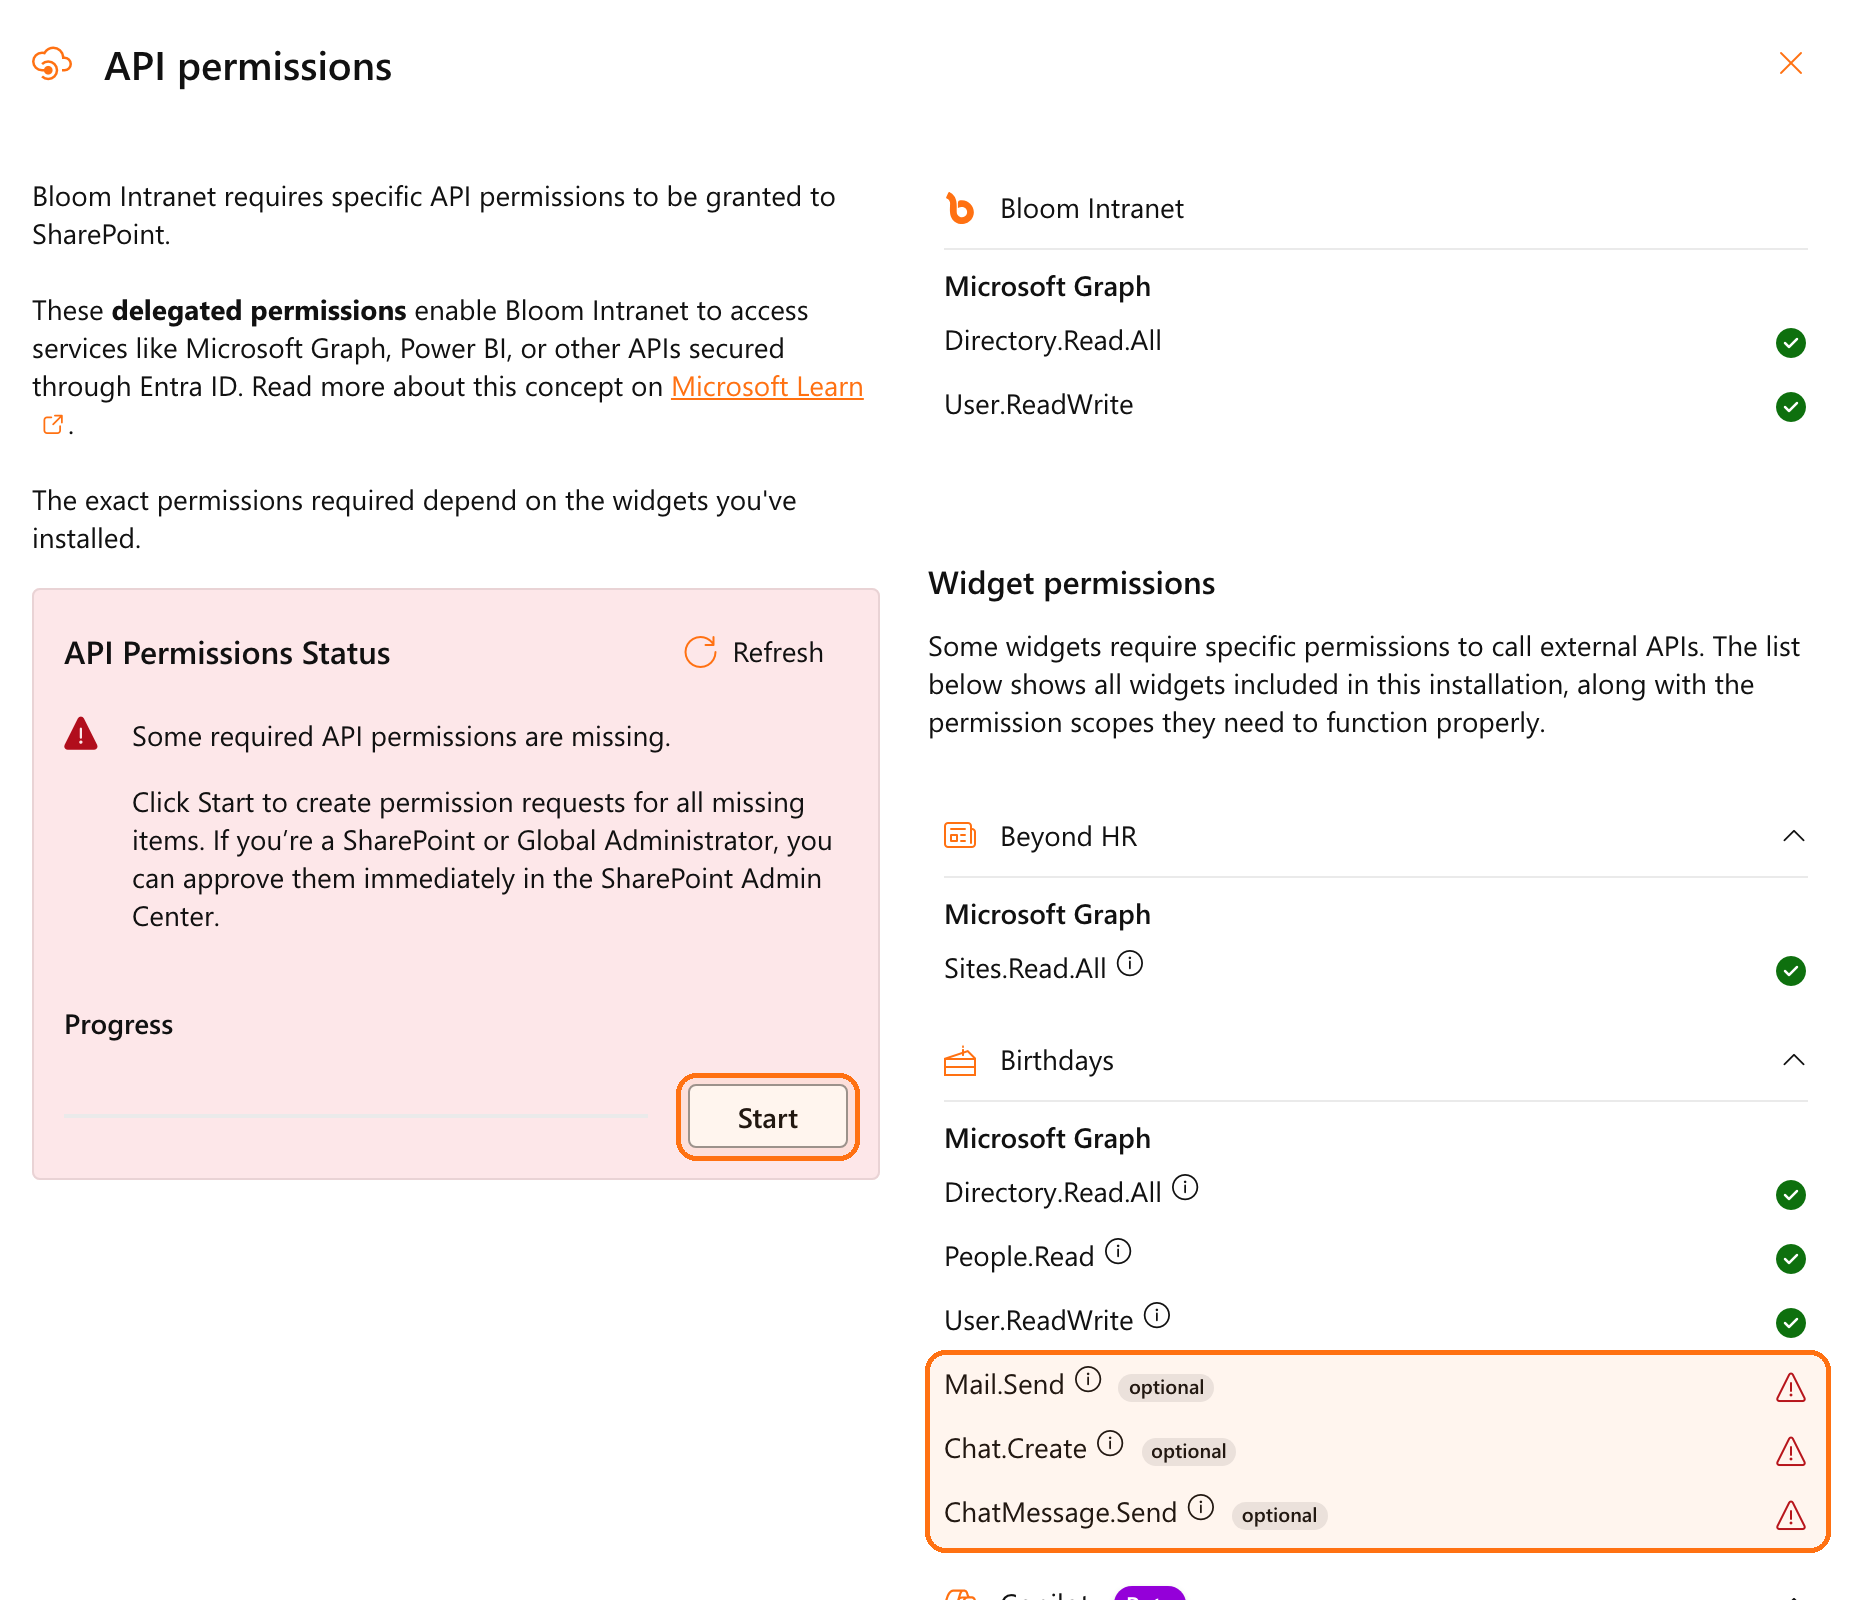
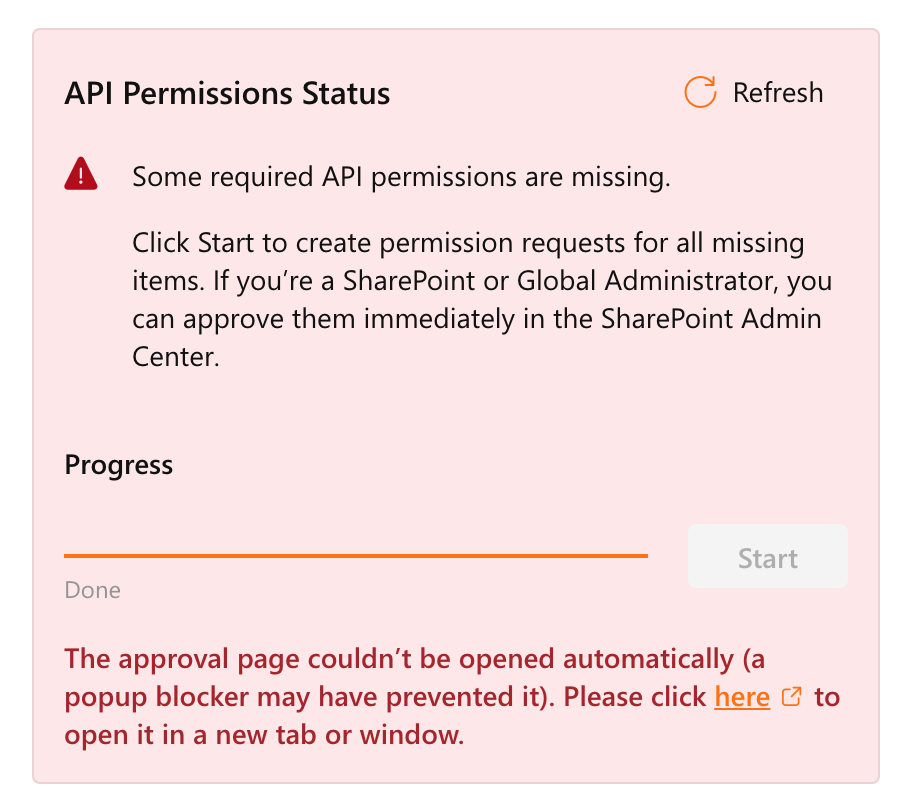
To ensure everything works as expected, we recommend opening the SharePoint Admin Center and checking whether any additional permissions need to be approved.
Some widgets or features within your chosen Bloom Intranet configuration may require additional Microsoft 365 permissions to function properly. These permissions are not always requested during the initial installation and may need to be approved separately by a SharePoint or tenant administrator.
Select Open Admin Center to review and approve any outstanding permissions, if needed.
Once this is completed, your Bloom Intranet installation is fully ready for use.
On this screen in the SharePoint Admin Center, you can:
Review any outstanding permission requests for Bloom Intranet.
Select Approve for any permissions that are required for your configuration to function properly.
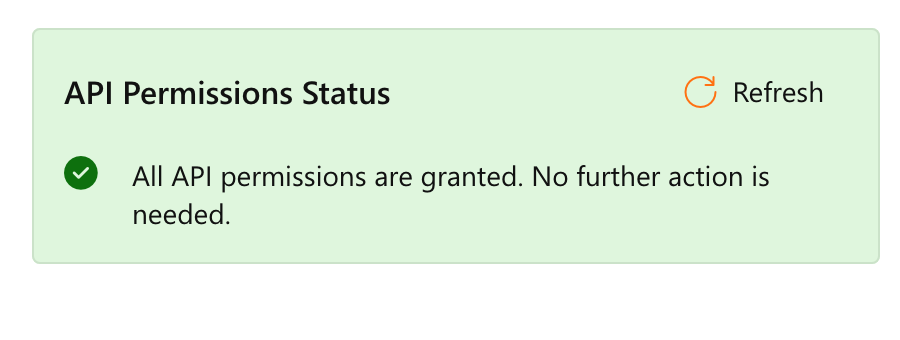
Once all necessary permissions have been approved, your Bloom Intranet installation will be fully ready for use.
After approving the required permissions, return to your Communication Site.
Bloom Intranet is now ready to be used on your site. 🙌
💡 In some cases, it can take a short while before newly approved API permissions are fully activated across your tenant. If something does not work immediately, wait a few minutes and try again.
Questions?
We are happy to help! Feel free to get in touch with us.